Remote Visualization
Overview
ARIS provides the capability to perform interactive visualization processing of your data.
The user can run the visualization application on the ARIS login nodes (where he has fast access to to the shared filesystem of ARIS) instead of their local desktop workstation without transferring any data locally.
Recommended client TurboVNC http://sourceforge.net/projects/turbovnc/
Usage
Visualization service workflow:
1. Connect to ARIS
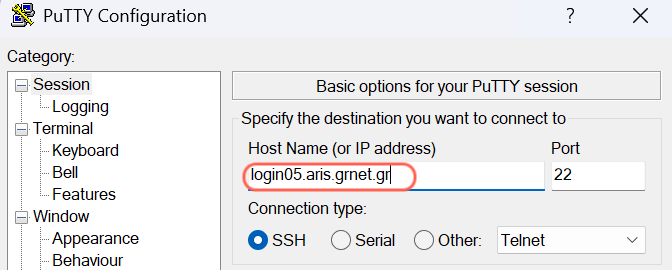
Connect as usual to login25.aris.grnet.gr (Login to ARIS)
Note the physical hostname you are connected (for example login05.aris.grnet.gr)
$ hostname
$ uname -n

login05
2. Create a VNC password.
It is needed only once, before the first use of visualization service
$ mkdir -p $HOME/.vnc/

vncpasswd
Password:
Verify:
Would you like to enter a view-only password (y/n)? n
The password must be at least six characters long and only the first eight characters are significant.
3. Start the VNC server on the login node :
vncserver

New 'login06:1 (cgioldasis)' desktop is login06:1

Starting applications specified in /users/staff/cgioldasis/.vnc/xstartup
Log file is /users/staff/cgioldasis/.vnc/login06:1.log
Note the port that is assigned to your VNC session and the assigned display.
You can extract that information from the VNC log file $HOME/.vnc/login05:1.log (output of the vncserver
command)
$ grep -E "VNC.*port" $HOME/.vnc/login05:1.log

21/12/2016 12:48:33 Listening for VNC connections on TCP port 5901
Typical values are 5901 and login01:1, port may change depending on
the active VNC sessions on login node, but it is 5901 or higher 5902 etc.
If you are connected to login01, and your session assigned display :2,
the port info is logged in file $HOME/.vnc/login01:2.log
4. Create an ssh tunnel from your PC to the VNC server :
Linux/MAC OS/*IX :
ssh -i PATH_TO_YOUR_PRIVATE_KEY username@hostname.aris.grnet.gr -L 5901:localhost:5901

      You should use :
              hostname : <login05>,<login06> set the hostname your are connected to from step 1.
              username : your username on ARIS
              5901     : The port number assigned to your VNC session
              PATH_TO_PRIVATE_KEY: The path to you private `id.rsa` key
Windows
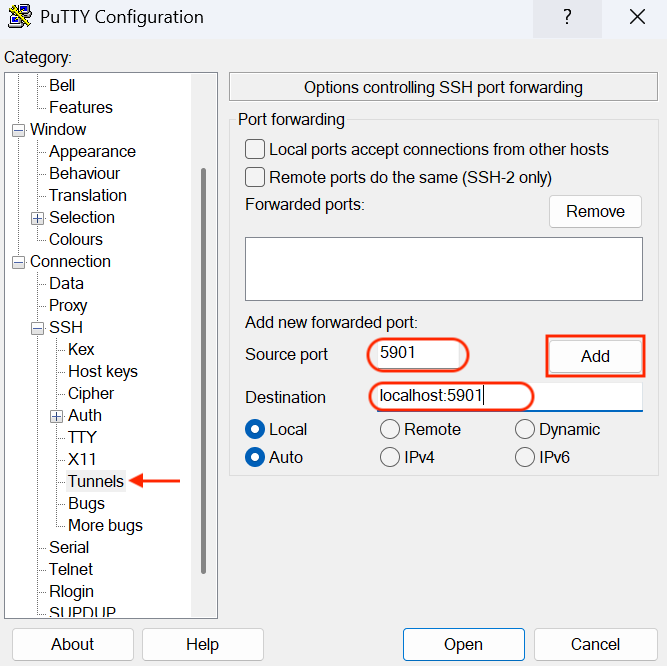
Putty
Set the hostname you are connected from step 1.
Configure the tunnel port assigned to your VNC session (from step 3)
Connection -> SSH -> Tunnels
Click Add button
Bitvise
Set the hostname you are connected from step 1.
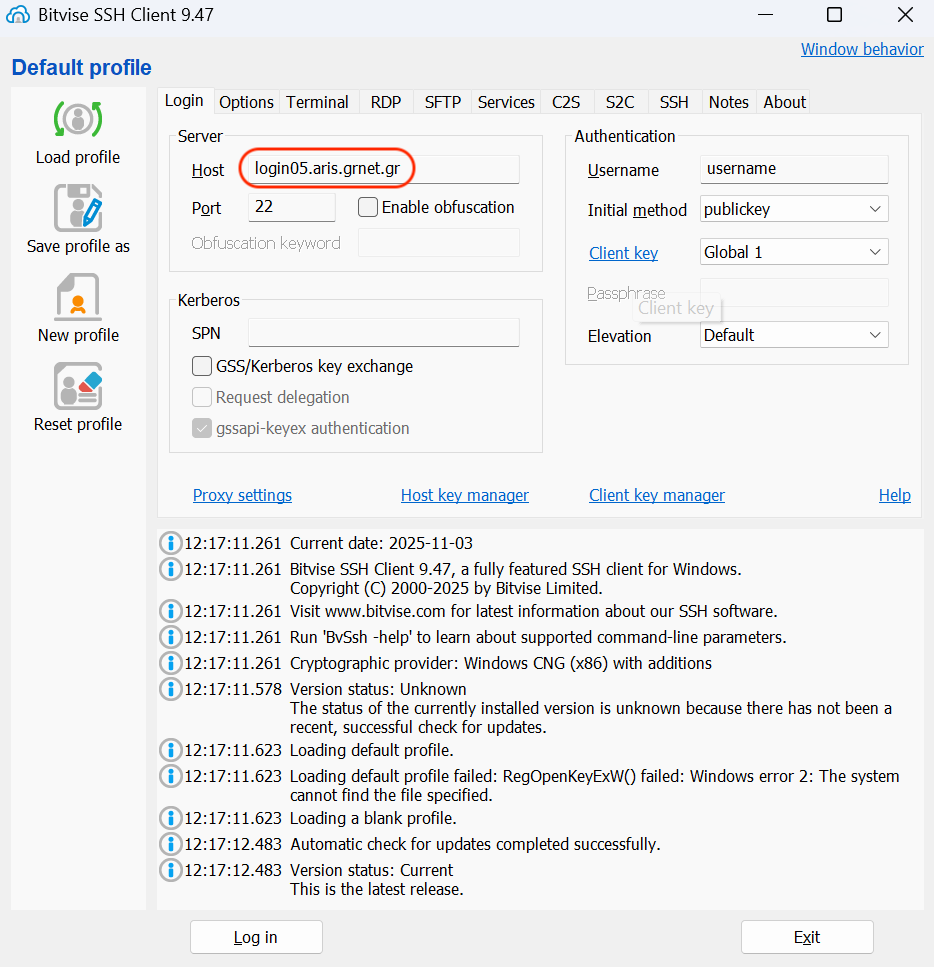
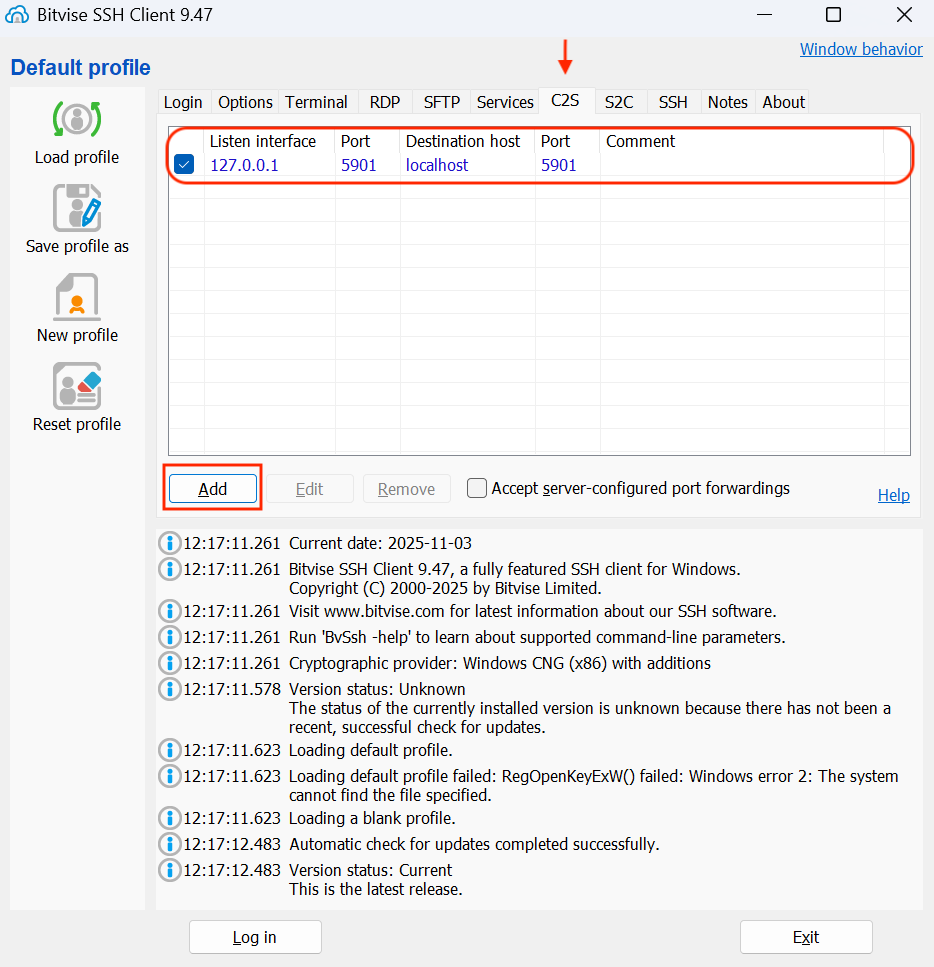
Configure the tunnel port assigned to your VNC session (from step 3)
C2S Tab -> Add
Click Add button
5. If vncviewer is not installed on your PC install it.
TurboVNC http://sourceforge.net/projects/turbovnc/
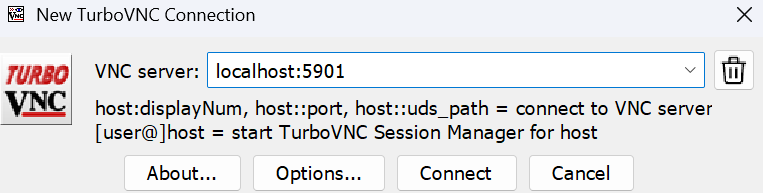
6. Run TurboVNC Viewer from your PC.
On your Linux/MAC/*IX :
$ vncviewer localhost:5901
On Windows run turbovnc client
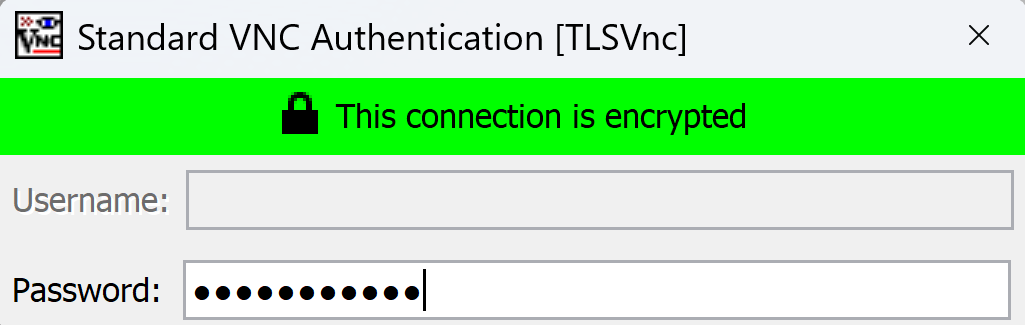
At this point, you should type the VNC password created in step 1.
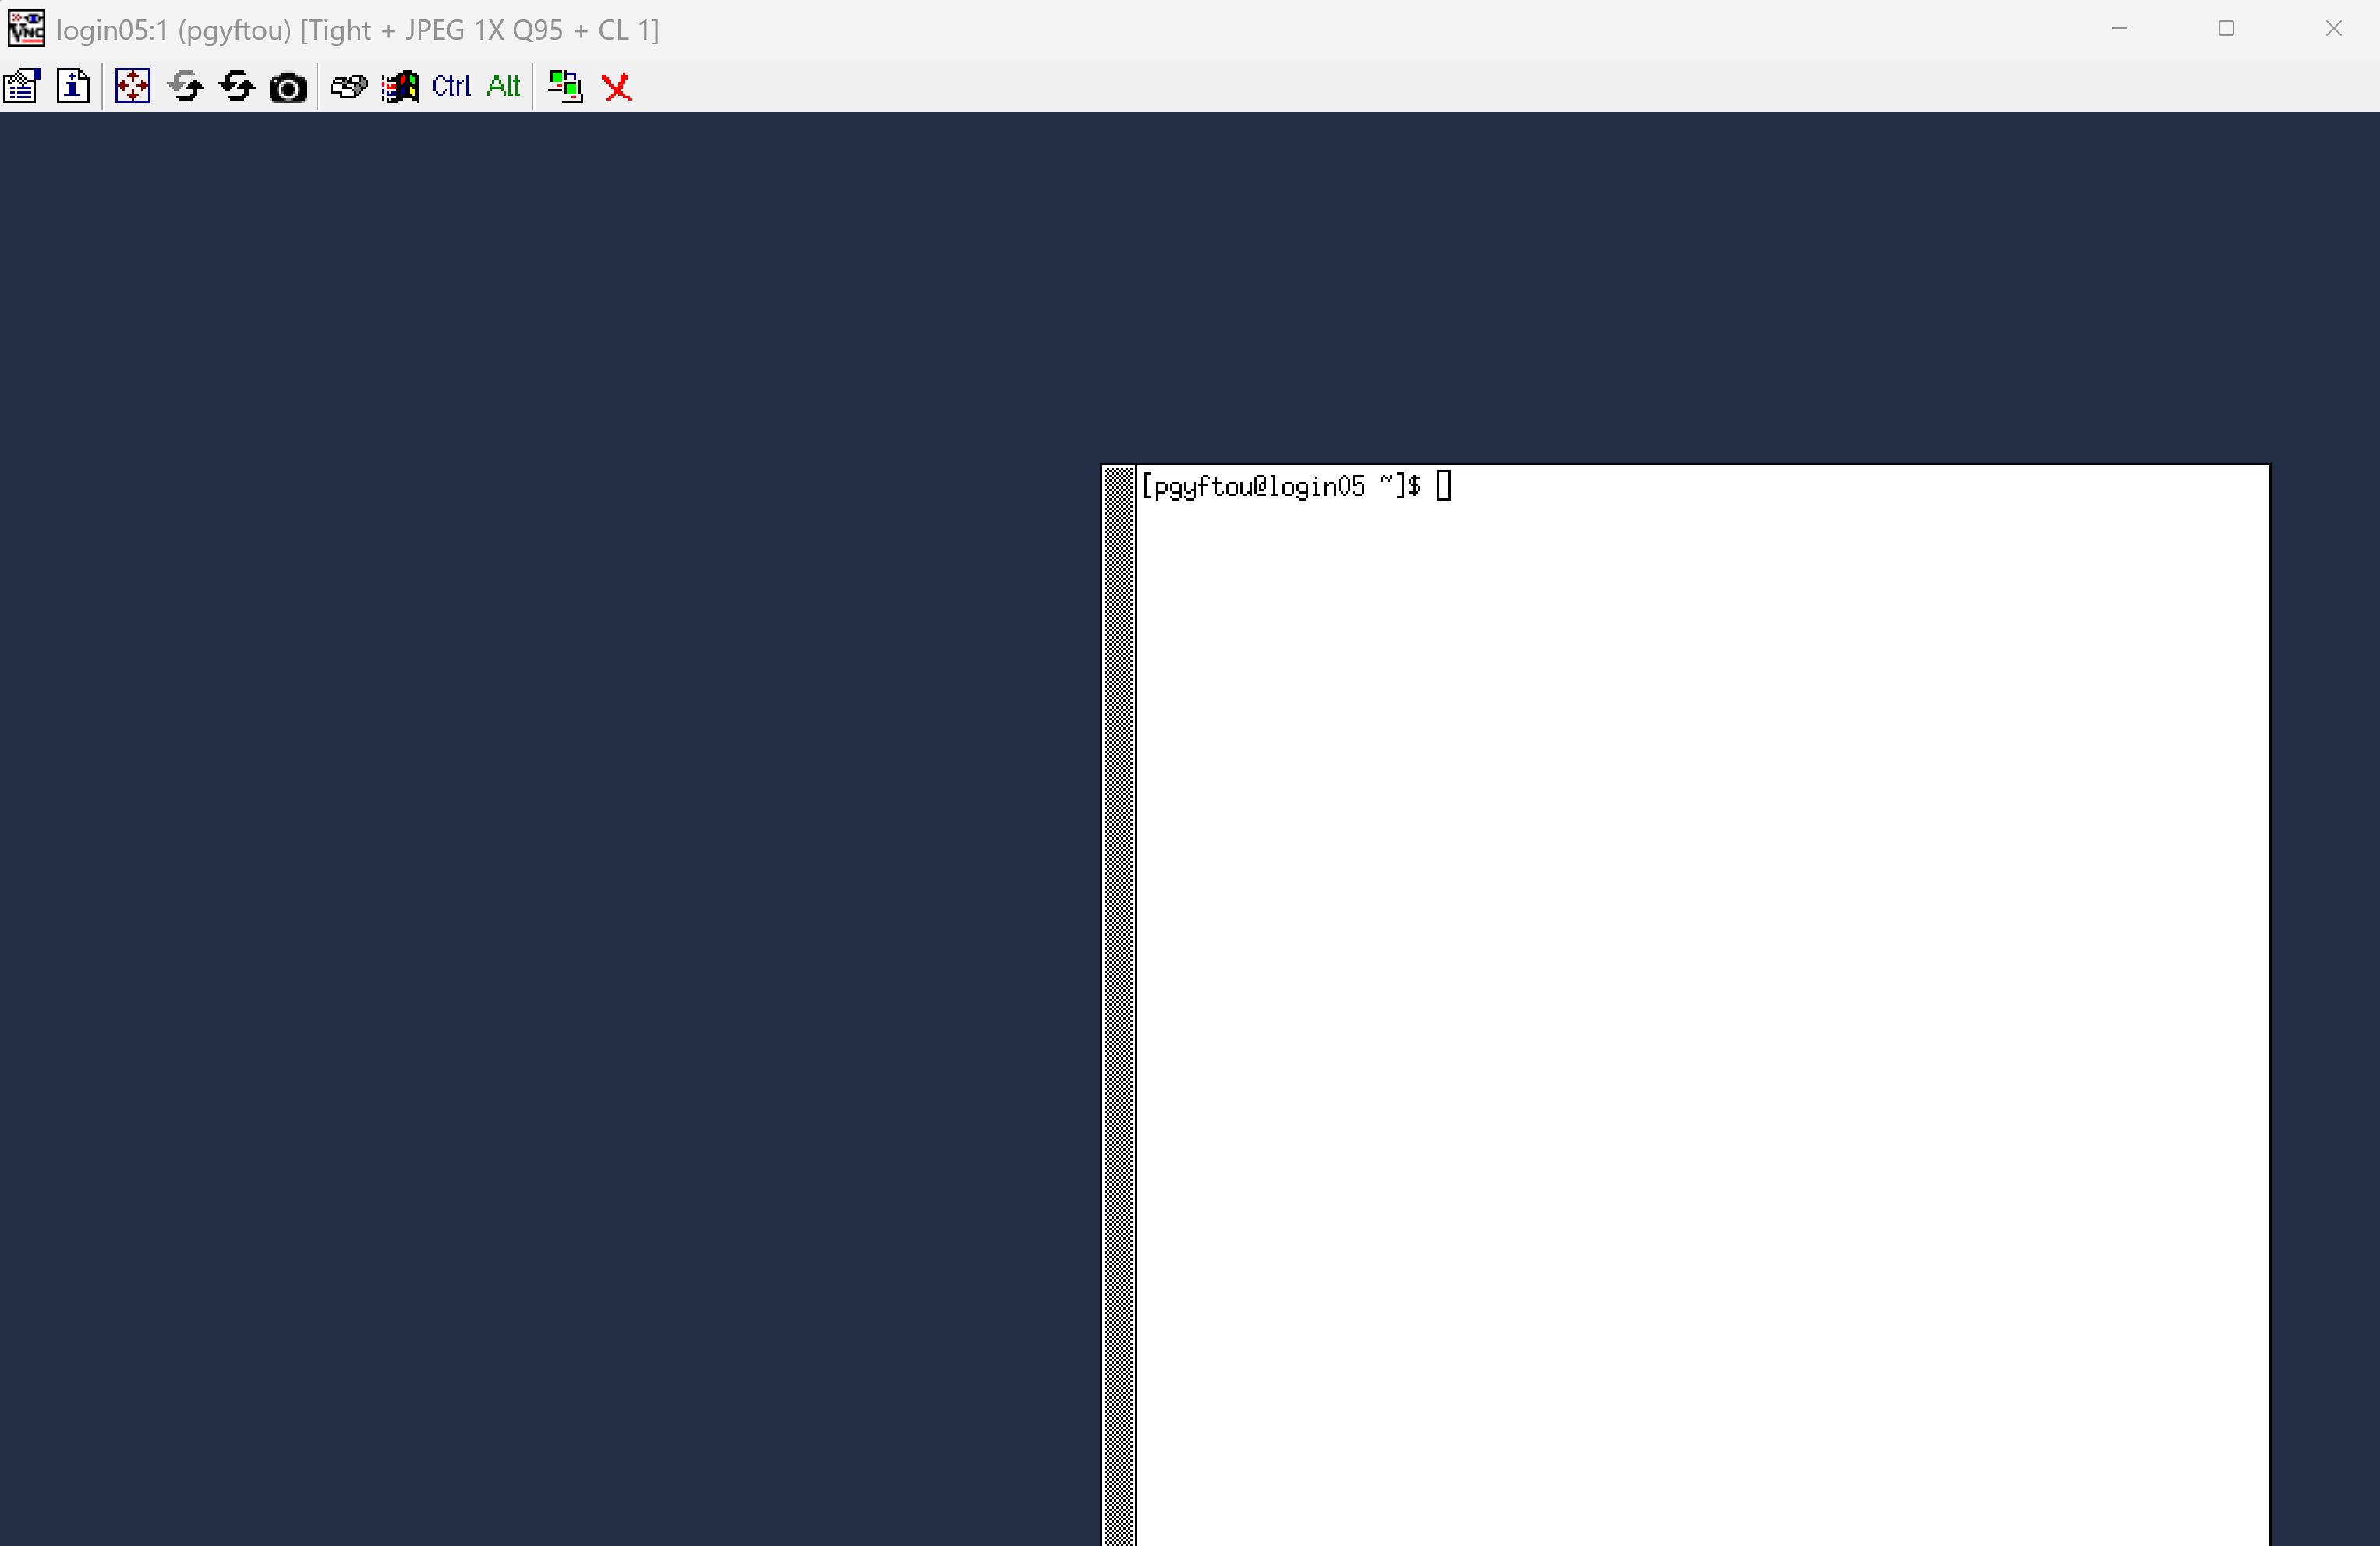
After this you’ll see a very minimal VNC session on login node with just a terminal.
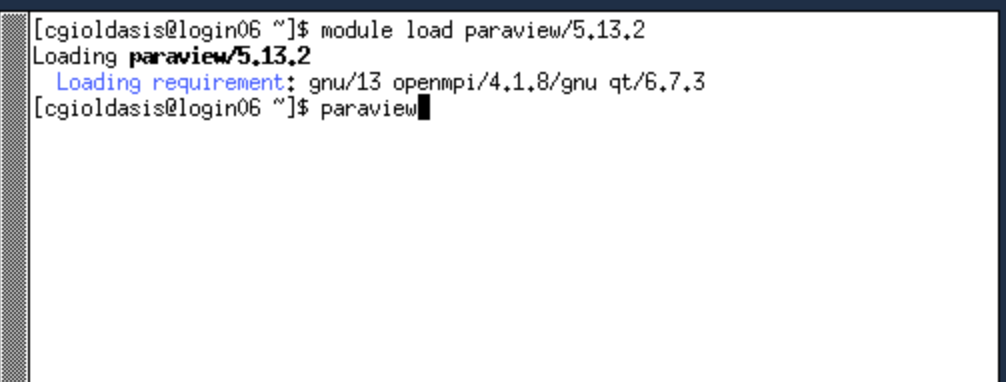
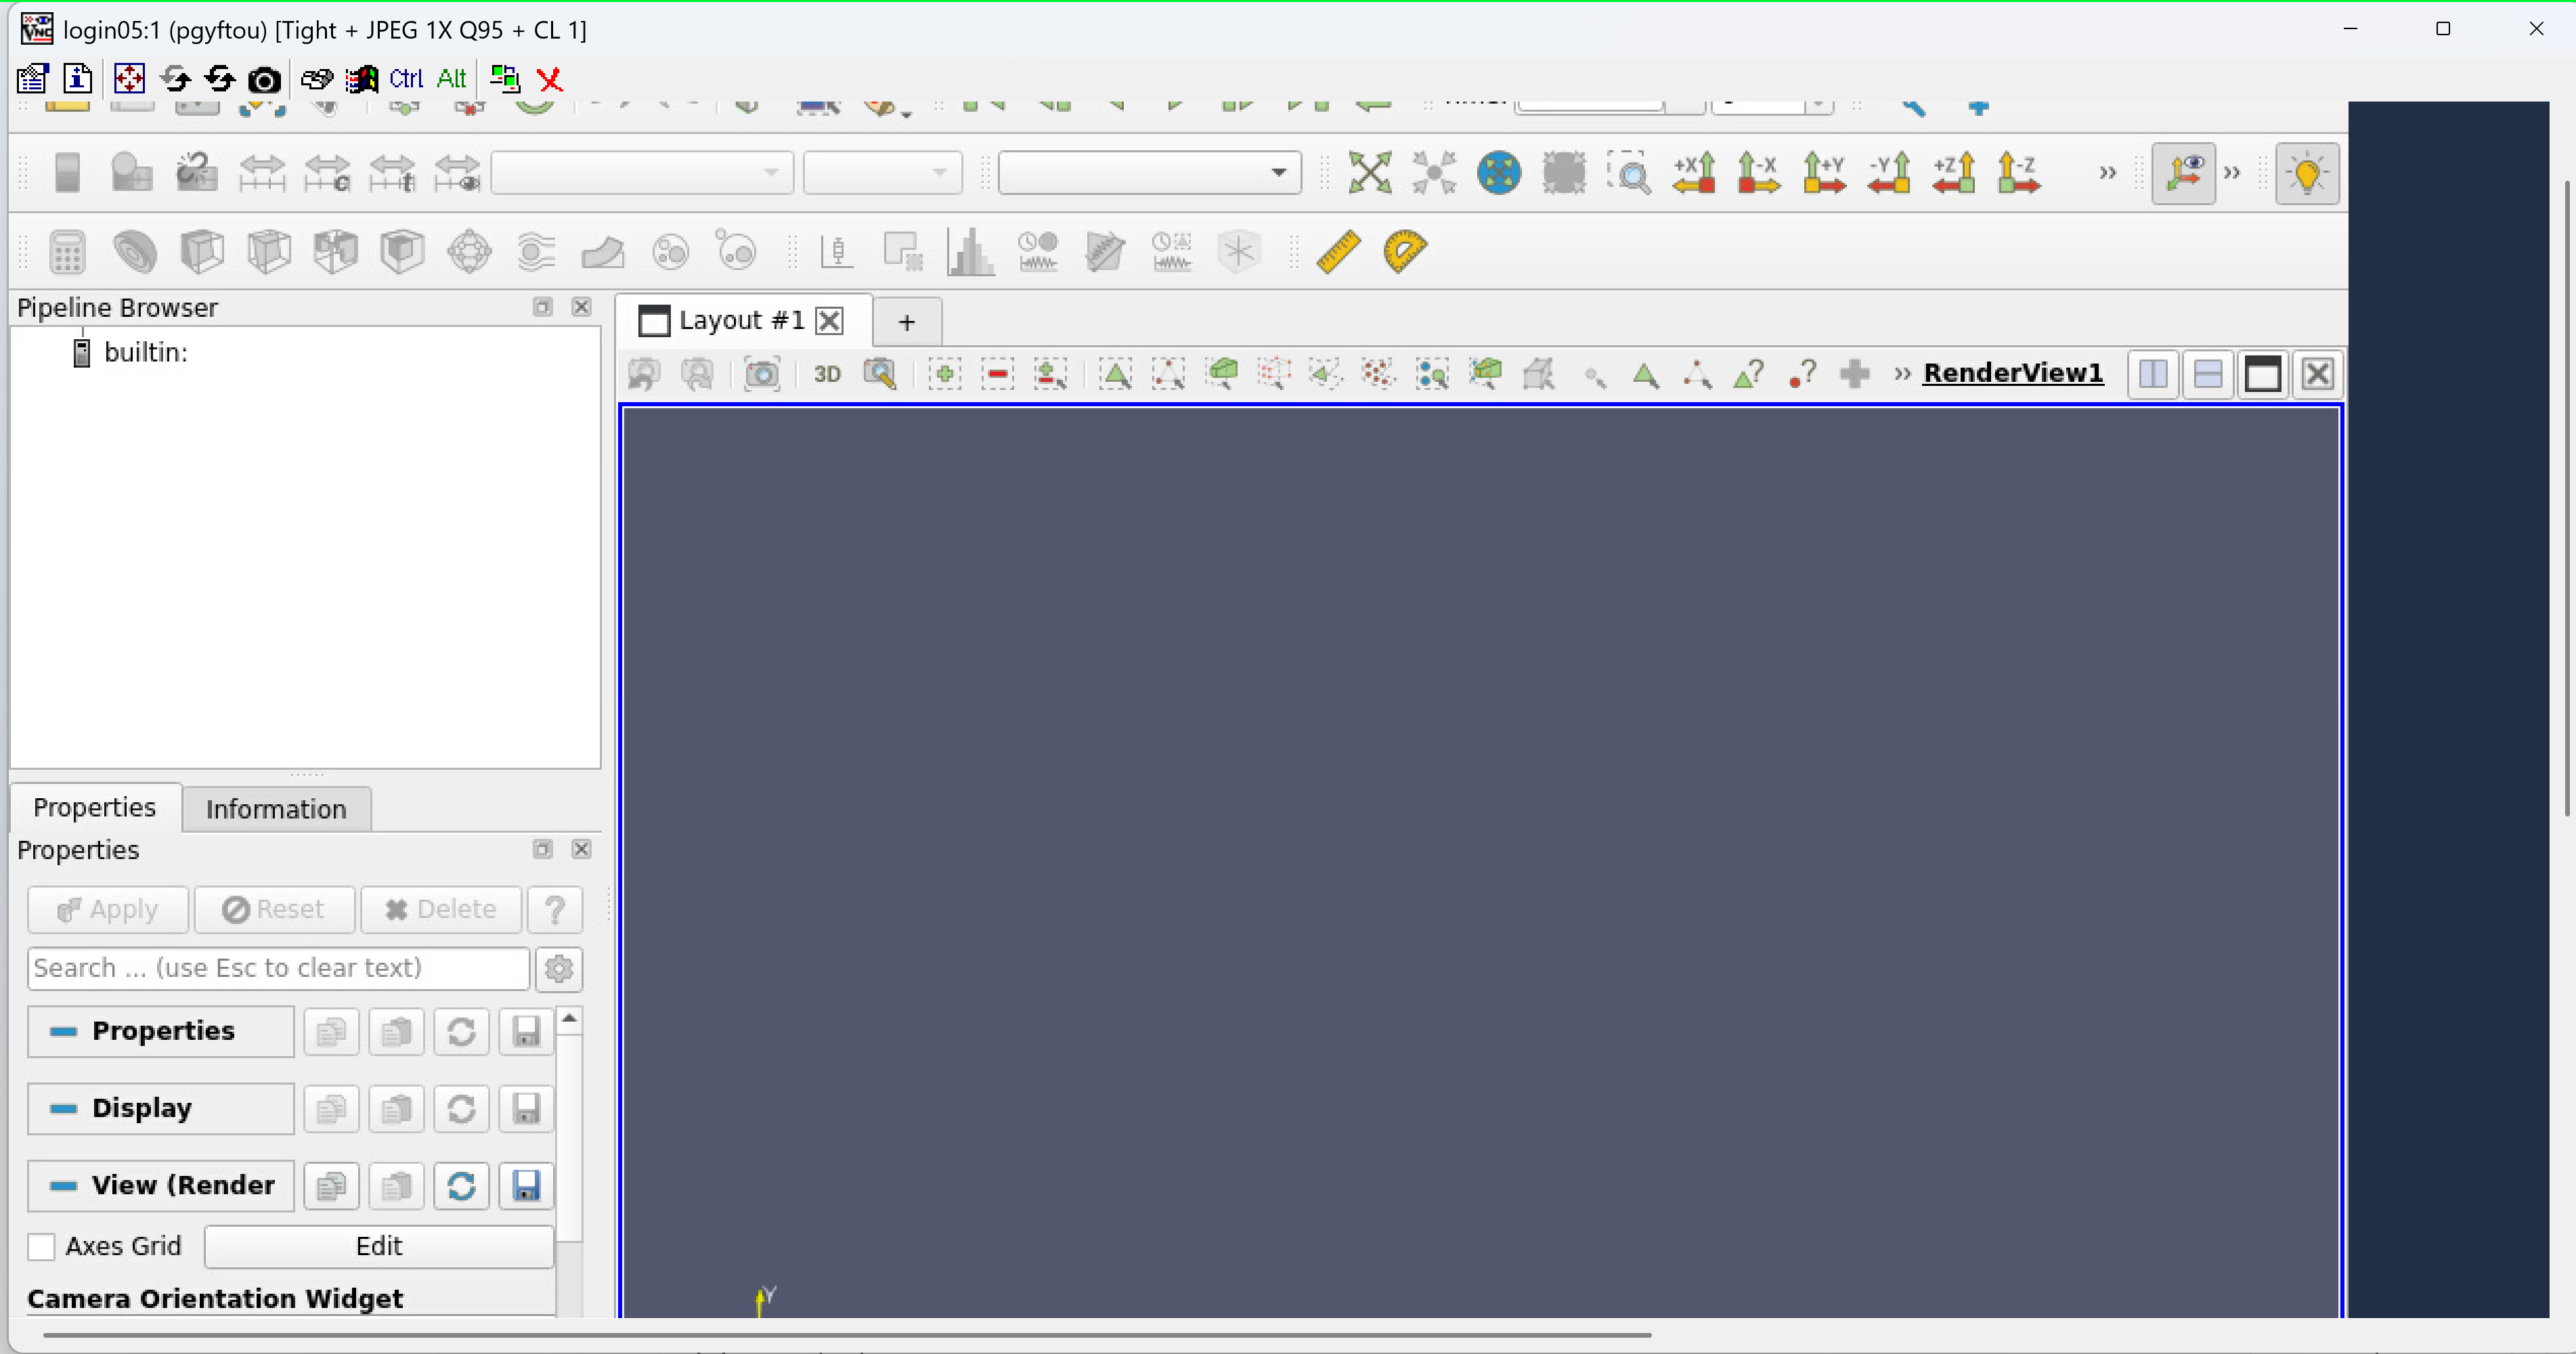
7. Run Visualization Software
For example, if you use paraview :
module load paraview
8. End Visualization
Stop VNC server on login node
When you finish your visualization activities do not forget to stop the minimal VNC server on login node :
On the login node issue :
vncserver -list

TigerVNC server sessions:

X DISPLAY # PROCESS ID
:1      129780
To stop this session issue :
vncserver -kill :1